
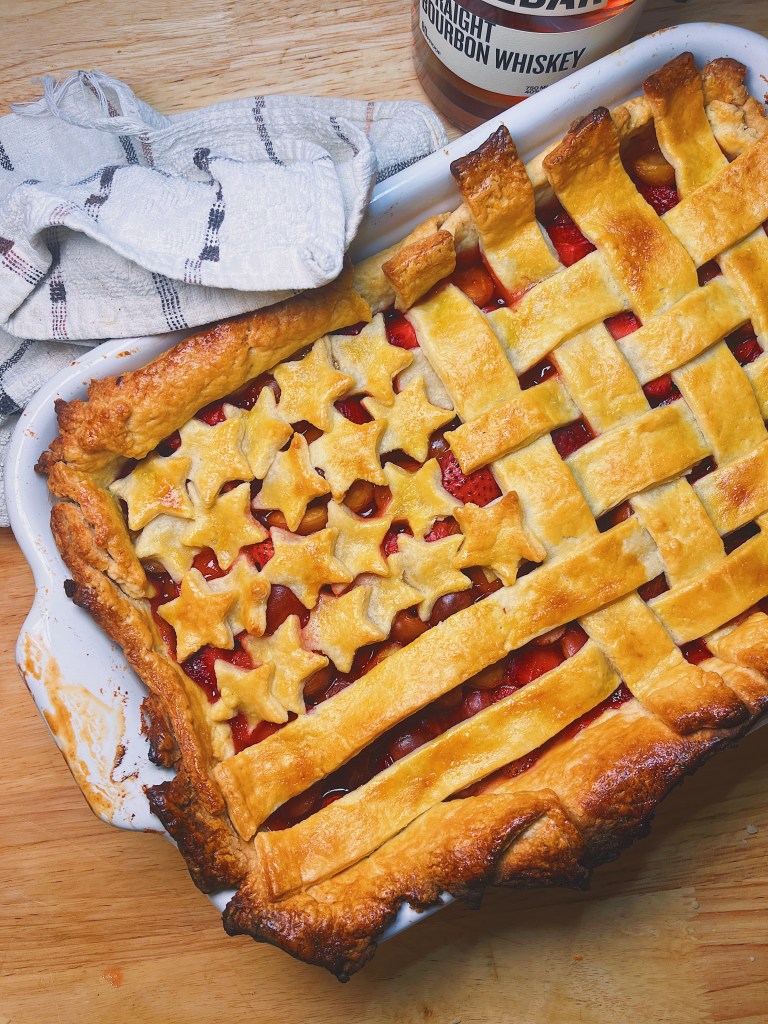
cherry & strawberry slab pie
The Best of Summer, By the Slice: Rainier Cherry & Strawberry Slab Pie
Forget pumpkin spice! While many think of autumn for pie, summer offers its own glorious season for sun-drenched indulgence. Let’s talk summer pies.
My journey to summer pie appreciation truly began with a revelation in New Orleans: the strawberry hand pie. These succulent, syrupy explosions of flavor, nestled in buttery flaky crusts, changed my mind about berry pies, especially when paired with vanilla ice cream.
This opened my palate to other summer fruits, like cherries – a longtime favorite of my mom’s. While I still prefer them baked, a dazzling cherry pie is a quintessential summer cookout dessert, especially up north where Rainer cherry season truly shines.
Tips
which pans can i use?
A slab pie simply means a large, square pie. Instead of a standard 9-inch round pie pan, you can use a 9×13-inch casserole dish or a rimmed baking sheet. Choosing the right pan depends on what you have available and how much pie you want to make; a baking sheet, for instance, yields a significantly higher serving size.
working with dough
or many bakers, handling pie crust is the most challenging part of making pie. It’s easy for the dough to become soft and difficult to work with, especially on a warm day. My best advice? Patience is key! By taking your time and following these additional tips, you’ll be on your way to mastering pie crust.
Making the Dough:
- Keep it Cold: Use ice-cold butter/fat and water. This is crucial for flakiness.
- Don’t Overmix: Mix just until the dough comes together, leaving visible pieces of fat. Overmixing creates tough dough.
- Chill Thoroughly: Always chill your dough for at least 30 minutes (or up to 2 days) before rolling. This relaxes gluten and re-chills the fat.
Handling & Rolling:
- Work Fast & Cold: Handle the dough as little as possible to prevent it from warming up. If it gets sticky, re-chill it.
- Lightly Flour: Use minimal flour on your surface and rolling pin to prevent sticking, but don’t add too much to the dough itself.
- Roll Evenly: Roll from the center out, rotating frequently to get an even thickness.
- Don’t Stretch: If the dough resists, let it rest a few minutes before continuing to roll. Stretching causes shrinkage.
Storage
Pie can be stored over night at room temperature.
To store long term, cut, place in sealed container, and store in refrigerator for up to 3 days.
Eat pie cold or heat in microwave 30 seconds at a time until desired temperature is reached.
cherry & strawberry slab pie
Preparation Time: Up to 1 day for pie crust to rest | Cook Time: 1 hour | Serving size: 10 – 16

Gather
pie dough
feel free to use store brought, I recommend 3 pie sheets,
- 5 cups unbleached all-purpose flour, plus extra for working the dough
- 2 teaspoons salt
- 4 tablespoons sugar
- 3 sticks cold unsalted butter, cut into small cubes
- ½ cup cold water
- ½ cup cold vodka
- 1 egg, whisked (for brushing)
- White sugar (for sprinkling, optional)
filling
- 4 cups Rainier cherries, pitted and stems removed
- 4 cups strawberries, cut and leaves removed
- ½ cup white sugar
- Pinch of salt
- 6 tablespoons cornstarch
- Juice of 1 lemon
- 2 tablespoons bourbon
Follow
- Make the crust: In a large food processor (see tip below), add the flour, salt and sugar. Pulse until combined. Add half the butter, and pulse 5 to 7 times. Then add remaining butter and pulse again. Combine water and vodka together in a measuring cup, and then, while the processor’s blades are running, slowly stream into the flour mixture. Once the dough begins to stick to itself a little, you can stop.
- Turn dough onto a surface, and divide it into two parts, with one being slightly larger than the other; this will be your bottom layer. Form both parts into balls, wrap them in plastic wrap and let them rest in the fridge for a minimum of 2 hours, preferably overnight.
- Prep the filling: In a large bowl, combine cherries, strawberries, sugar, salt, cornstarch, lemon juice and bourbon. Macerate for 15 to 20 minutes. In the meantime, remove your dough from the fridge and let it sit at room temperature so you can begin working it.
- Adjust oven rack to lower position. Preheat the oven to 425 degrees before you roll out the crust.
- Assemble and bake: Take a 11-inch-by-15-inch baking sheet and set aside next to an open working surface. Lightly dust the working surface with flour. Take the larger ball of dough, unwrap it and sprinkle flour on top. Begin to roll the dough into a 13-inch-by-17-inch rectangle. Be sure to flour, flip and rotate dough while rolling.
- Transfer to the baking sheet; there should be overhang. Pour the filling onto the rolled-out dough.
- In the same way as the first dough ball, roll out the second dough ball, which will be the pie top, to a 12-inch-by-16-inch rectangle.
- If you’re doing a lattice top, cut the dough rectangle into 1-inch strips and build a lattice on top of the fruit. You can also do a double crust and lay the second dough sheet on top of the fruit; cut at least 5 vent holes into the top layer (or small shapes, if you prefer). Either way, crimp and finish edges as needed.
- Brush the pie top with the egg wash, and sprinkle with sugar, if desired.
- Bake on the lowest rack until the filling is bubbling and the crust is golden brown, 45 to 50 minutes. If the crust begins to brown too much at any point during your bake (this sometimes happens to me around the 30-minute mark), feel free to loosely cover with foil to finish the bake.
- Let the pie cool before serving. I recommend cutting with a pizza cutter for ease. The pie can sit out covered at room temperature for 1 day. Place in an airtight container in the fridge for longer storage.

Leave a comment